Pages

December 9, 2014

fire!

I have some catching up to do on the oven progress. Nate's working much faster than I am.

This shows all the small purlin-like pieces of wood Nate had to add in order to have more places to put screws into from the roof. Each one was painstakingly hot-glued down until he could open the roof and screw them from the back. Both sides of the roof are hinged.

 Roof on.


 Ridge vent and chimney on.

 The roof is complete and the wiring for the lights and brakes is finished.

Baby's first fire! Over the next week or so, he'll be lighting a series of  'warming' fires to cure and dry out the masonry. The fires will be kept small and will be shifted around the hearth to try and heat the oven gradually and evenly. There's still a lot of water in the masonry, and if it gets too hot the steam will start to break joints, or worse, make cracks. This is what it means to "cure" a brick oven.

Now we can focus on the bakery itself. Things aren't moving along as quickly as we'd like with the bakery roof. That needs to happen before we can tackle the interior repairs and begin to get it ready for inspection. Unfortunately, we're at the mercy of the building owners and they have other obligations. Fingers crossed, we can get things moving before the snow starts to fly. We gotta get this baking party started!

December 6, 2014

three

I'm thinking back on this day, three years ago, when you came into this world and changed our lives forever. It was the hardest and happiest day of our lives. Thank you for your love, your happiness, your smile, and those beautiful blue eyes. 

Happy Birthday, little bird. We love you.


November 15, 2014

getting there...

Lately, everyday is a long, cold day for Nate as he works hard to finish the oven. We don't see him much. He spends some time at home in the morning, to be with Zander, and doesn't return often until almost midnight. I force myself to stay awake to see his face and hear about the progress of the day. He walks in the door looking like a coal miner and I immediately put hot food in front of him before heading to bed. He often falls asleep on the couch, in front of the wood stove. It's true dedication. It hasn't been easy, but it's how dreams are made. And we're almost there.

 Nate's moved on to the housing of the oven. He welded an angle iron frame around the oven and then added metal studs that a skin of cement board will be screwed to.

 Before he could really start the insulation, he had to finish putting in all the temperature sensor wires. There are 6 sensors, 3 on the side of the oven and 3 in the middle of the hearth. The main purpose of getting so many different temperature readings is to learn how this oven performs. We'll be able to tell how deep the heat is, when we can bake, and for how long.

 This is a ceramic fiber blanket material that he's filling the spaces with. On the sides are 7 inches of insulation and on the back, nearly 8 inches.


 All closed in. (Nate's wearing his protective gear while working with the ceramic fiber insulation.)

 More work on the door.
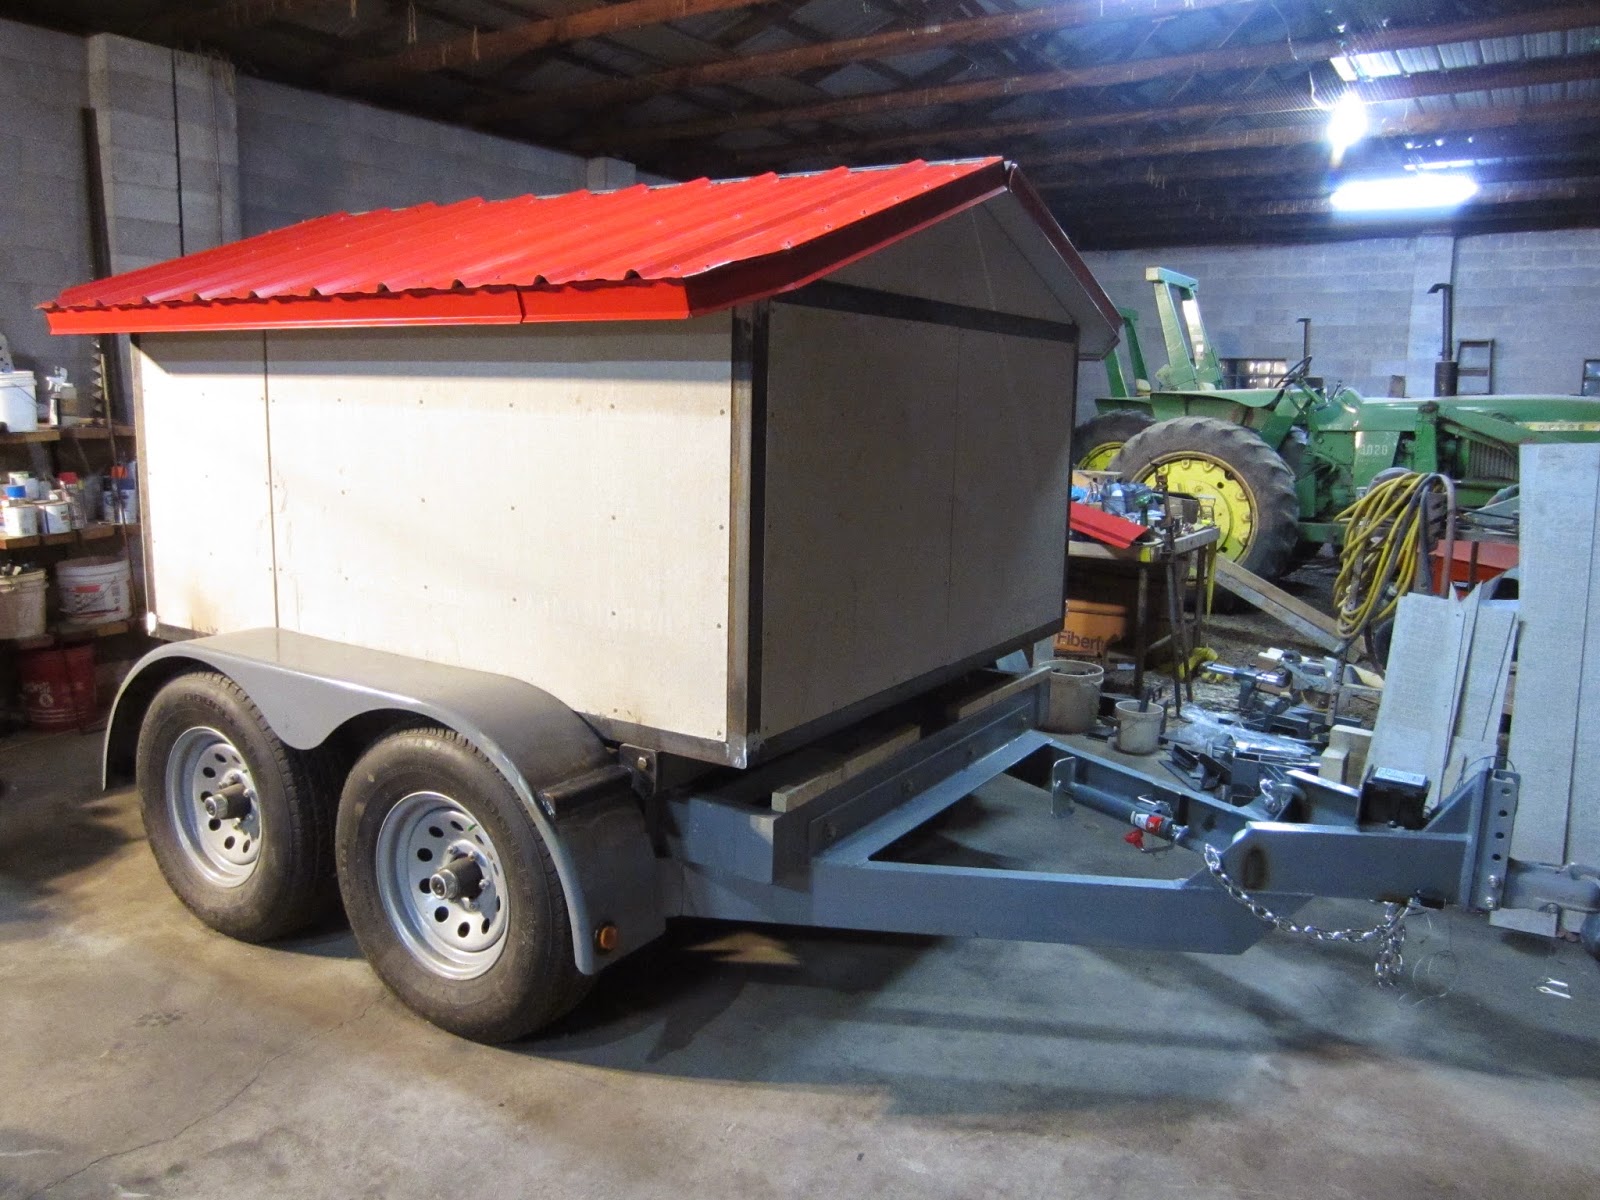
 A roof!

 The baking door has definitely been the most challenging part of the oven, or at least the most tedious and annoying. There's been lots and lots of trial and error, but it's finally done! 
Here it is, in the closed position.

 Open.

 Closing up the front.


It might look plain and boring, but he's so happy to have gotten this far. It's hard to imagine all of the inner workings that are hidden inside the housing. The whole point of the housing is to make the oven really well insulated so it will stay hot for days after one firing. There were tons of things to do to prepare for this and he still needs to add a small box that will house the temperature readout and selector switch. 

Now that the housing is pretty much done, Nate can think about what goes on top of the cement board. He's thinking of using steel sheet around the oven door (fire proof) and the sides will be board and baton made out of rough-cut lumber. 

He'll start lighting small fires soon to begin the drying process for the oven. That has to be done before he can fire it for real.

And equally exciting...there's finally some progress on the bakery. A new roof is in the works!

November 6, 2014

fall fun

Here's a look at some of the fun we managed to sneak in these last few weeks...


November 5, 2014

progress report

We've moved into the not-so-enjoyable part of oven building. There are lots of smaller, somewhat tedious projects going on these days. Not all of it is so straightforward, as Nate's figuring it all out as he goes along. Sometimes he spends a day changing or re-doing what he did the day before, so not all days feel like accomplishments. He's doing an amazing job hanging in there, and we're so proud of him.

The core of the oven is finished. Before the frame gets added, Nate wrapped the oven in 2 layers of 3mm ceramic fiber "paper" resulting in 1/4 inch of insulation between the oven and the frame. This will help reduce the amount of heat conducting out to and through the steel frame.

Frame added and tack-welded.


Cutting out parts for the ash drop.


Ash drop in place.

Refractory concrete poured around what will be the damper that stops steam from going up the chimney. We want the steam to stay in the oven because that's what gives bread a great crust.

The damper assembly. It will slide open and closed.

After making the chimney transition, Nate attached the anchor plate and filled it with refractory concrete and added the chimney.

There it is, chimney on!

Now you can see how the damper assembly fits in with the chimney housing.

And now, the baking door. This has been the most complicated and frustrating part so far, but it's finally coming together. There will be two flapper doors, each about 10 inches high by 24 inches wide. To open them we'll just push a peel through the door that will be hinged at the bottom. When we pull the peel back out, the door will spring closed and keep the steam and heat inside the oven during baking.

More detail of the door assembly.

Next up, steel flapper doors.


November 1, 2014

our halloween

Here's what Zander thinks of halloween...


In his defense, I was trying to get him to try on a silly dumbo costume that we borrowed from a friend. Guess he's not too big on pop culture. Actually, he loves the idea of halloween, just not the costume part. We even tried making him a homemade robot costume, but that didn't fly either. So, we skipped the whole trick or treating thing. I'm sure he'll be into it next year. He still doesn't even know what candy is, so he's not missing out on anything there.

We settled for making jack-o-lanterns out of the pumpkins we grew, making paper bats, roasting pumpkin seeds and hanging out by the fire. I realize this is probably the last year we'll get away with skipping the festivities, but it's much more my speed and the boy was happy. All day long, he said "Happy Halloween, Mama!"


October 13, 2014

the latest...


The form supporting the main arch was removed and it's still standing!!

After much thought, consulting a few different oven builders and putting his own spin on what he learned, Nate finally decided on a design for the front of the reduction arch. There are sloping cuts on either side of the bricks and straight cuts made in the middle bricks for the smoke to travel directly up through the chimney. A reduction arch is basically a way of controlling exhaust gases and to keep smoke from exiting the door and into the face of the baker.

The rear view. Each brick had to be cut with a saw and then carved with a grinder to connect all the compound angles/curves.

The reduction arch is in place and being held with shims.

The reduction arch is mortared.

Support for the arch is taken away. In front of the reduction arch will be the cast lintel. The lintel has a positive form in it that complements the cut-outs on the reduction arch. This form provides a larger space for smoke to travel up towards the chimney.

The form for the cast lintel.

These are stainless steel needles that will reinforce the high temperature refractory concrete mix for the lintel. There's also some ceramic fiber in the concrete that helps hold it all together.


Lintel poured.

 This is the inside of the lintel cast. You can see the negative space that directs the smoke upwards.

 The lintel lifted in place.

 Here, you can see how the lintel and reduction arch work together to funnel smoke up to the larger opening. That opening will eventually transition into a 8 or 10 inch chimney pipe.

 Finally, the concrete cladding on the top of the vault is poured. Next will be the chimney and the steel, cage-like frame that I will weld around the oven

The oven core.

Isn't it so beautiful?! 

The builder. The baker. The oven maker.