Pages

October 13, 2014

the latest...


The form supporting the main arch was removed and it's still standing!!

After much thought, consulting a few different oven builders and putting his own spin on what he learned, Nate finally decided on a design for the front of the reduction arch. There are sloping cuts on either side of the bricks and straight cuts made in the middle bricks for the smoke to travel directly up through the chimney. A reduction arch is basically a way of controlling exhaust gases and to keep smoke from exiting the door and into the face of the baker.

The rear view. Each brick had to be cut with a saw and then carved with a grinder to connect all the compound angles/curves.

The reduction arch is in place and being held with shims.

The reduction arch is mortared.

Support for the arch is taken away. In front of the reduction arch will be the cast lintel. The lintel has a positive form in it that complements the cut-outs on the reduction arch. This form provides a larger space for smoke to travel up towards the chimney.

The form for the cast lintel.

These are stainless steel needles that will reinforce the high temperature refractory concrete mix for the lintel. There's also some ceramic fiber in the concrete that helps hold it all together.


Lintel poured.

 This is the inside of the lintel cast. You can see the negative space that directs the smoke upwards.

 The lintel lifted in place.

 Here, you can see how the lintel and reduction arch work together to funnel smoke up to the larger opening. That opening will eventually transition into a 8 or 10 inch chimney pipe.

 Finally, the concrete cladding on the top of the vault is poured. Next will be the chimney and the steel, cage-like frame that I will weld around the oven

The oven core.

Isn't it so beautiful?! 

The builder. The baker. The oven maker.

October 8, 2014

right now

Right now, I am...

~ experiencing some changes here, at home. Nate is working for a friend, at his farm, which is conveniently where the oven that he's building is located. He pretty much lives there. He's putting all he has into getting this oven finished and he's gone all day, until late. This has been great, and he's making amazing progress, but it has required me to find some balance as I navigate the "all mama, all the time" dynamic. When the oven and bakery are finished, we'll have a whole new normal to adjust to.

~ loving the happiness on Zander's face when Nate walks through the door at the end of the day, if he's still awake. Even though it's usually pretty late and I'm in the process of trying to get him to sleep and it all goes south because "DADDY'S HOME!!"

~ missing the camera here. Nate is doing an amazing job documenting the growth of the oven. It's been so great for him. Kind of like a journal of all the ups and downs he's going through as he figures all of this out. It just means I don't have a way to capture some of the Zander moments. A second camera may be necessary.

~ wishing and hoping that we have a home that's ours someday. We are beyond grateful to have this rental arrangement, but we've lived on someone else's land for 7 years. No regrets here, of course, and I know the right place will come in time. It's just that sometimes a girl wants to be able to let the weeds go in her yard, or not have to worry about our stuff being in the way.

~ completely blown away by the sudden explosion of emotional intelligence I'm seeing in my son. And at the same time, finding myself wondering when the boy will learn to listen to his body and sleep when he needs it. (Why does sleep always have to be so hard?!)

~ loving this kid, regardless of my sleep deprivation. (Do I look tired?)


~ still working in the garden. The weather is beautiful and I'm somehow finding it easier to tackle the once-overwhelming weeds and plants that are finished. I'm still planting seeds, trying to see how much more I can grow while keeping things covered when the cold temps roll in.

~ loving moments like this, because they're few and far between these days.


~ beyond grateful for the people in our lives who are so supportive and encouraging of our bakery project. Especially the friend and mentor Nate can call anytime and say "HELP! I don't know what the f%$k I'm doing!" and who encourages him to keep going when things get hard. (Because they do get hard.)

~ trying to stretch our last dollars while making the overwhelming list of things that still need to be repaired and completed in the bakery.

~ trying to start a small business of my own selling my handmade soap and jewelry to help stretch those dollars a bit further.


~ trying to come up with a name for the bakery! Suggestions, anyone??

wordless wednesday ~ the great pumpkin

Look what we grew!!

October 3, 2014

progress

The latest impressive oven progress...

 Getting ready for the concrete cladding around the oven.

 The form around the oven will help create a 2 inch thick cladding around the sides.

 The concrete mixture of gravel, sand, and a special high-temperature refractory cement.

Cladding poured.

Forms removed, and despite a serious moment of panic when Nate thought the walls of the forms were being pushed out, it's looking good!

 The form/support for the bonded arch, aka the ceiling/vault.

Soaking the arch bricks to make it easier to get the mortar in the cavities.

 Form in place, ready for the arch.

 This is a bonded arch, which means that the bricks are staggered for an extra strong arch. This way if a brick falls out of place, the rest will stay put.

 Shims are driven between the bricks to open up the joints and make the arch as strong as possible before filling in the gaps with the cement mixture. When all the gaps are filled, the bricks can't move and the arch can stand on its own when the form is removed.

 It's really looking like an oven!

The gaps are all filled in and in a few days he'll hold his breath and remove the arch form.

Looking good, Nate!!

October 1, 2014

this boy


Who doesn't eat peanut butter on bananas in a liquor box? (And who needs a haircut?)

September 22, 2014

wood-fired oven progress...

A few weeks ago, Nate was the "Special Feature" at our local farmers market. It's a really big market with lots of people coming through each week. It was a great way to spread the word about our bakery coming to town and to educate folks about sourdough. He baked a few loaves for samples and even gave out some of his starter to a lucky few. People were really excited about it and we got a nice mailing list going so we can update everyone on our progress.


Here's the progression of the oven, up until yesterday.

A pre-trailer pile of steel.

A lot of cutting and welding later... 

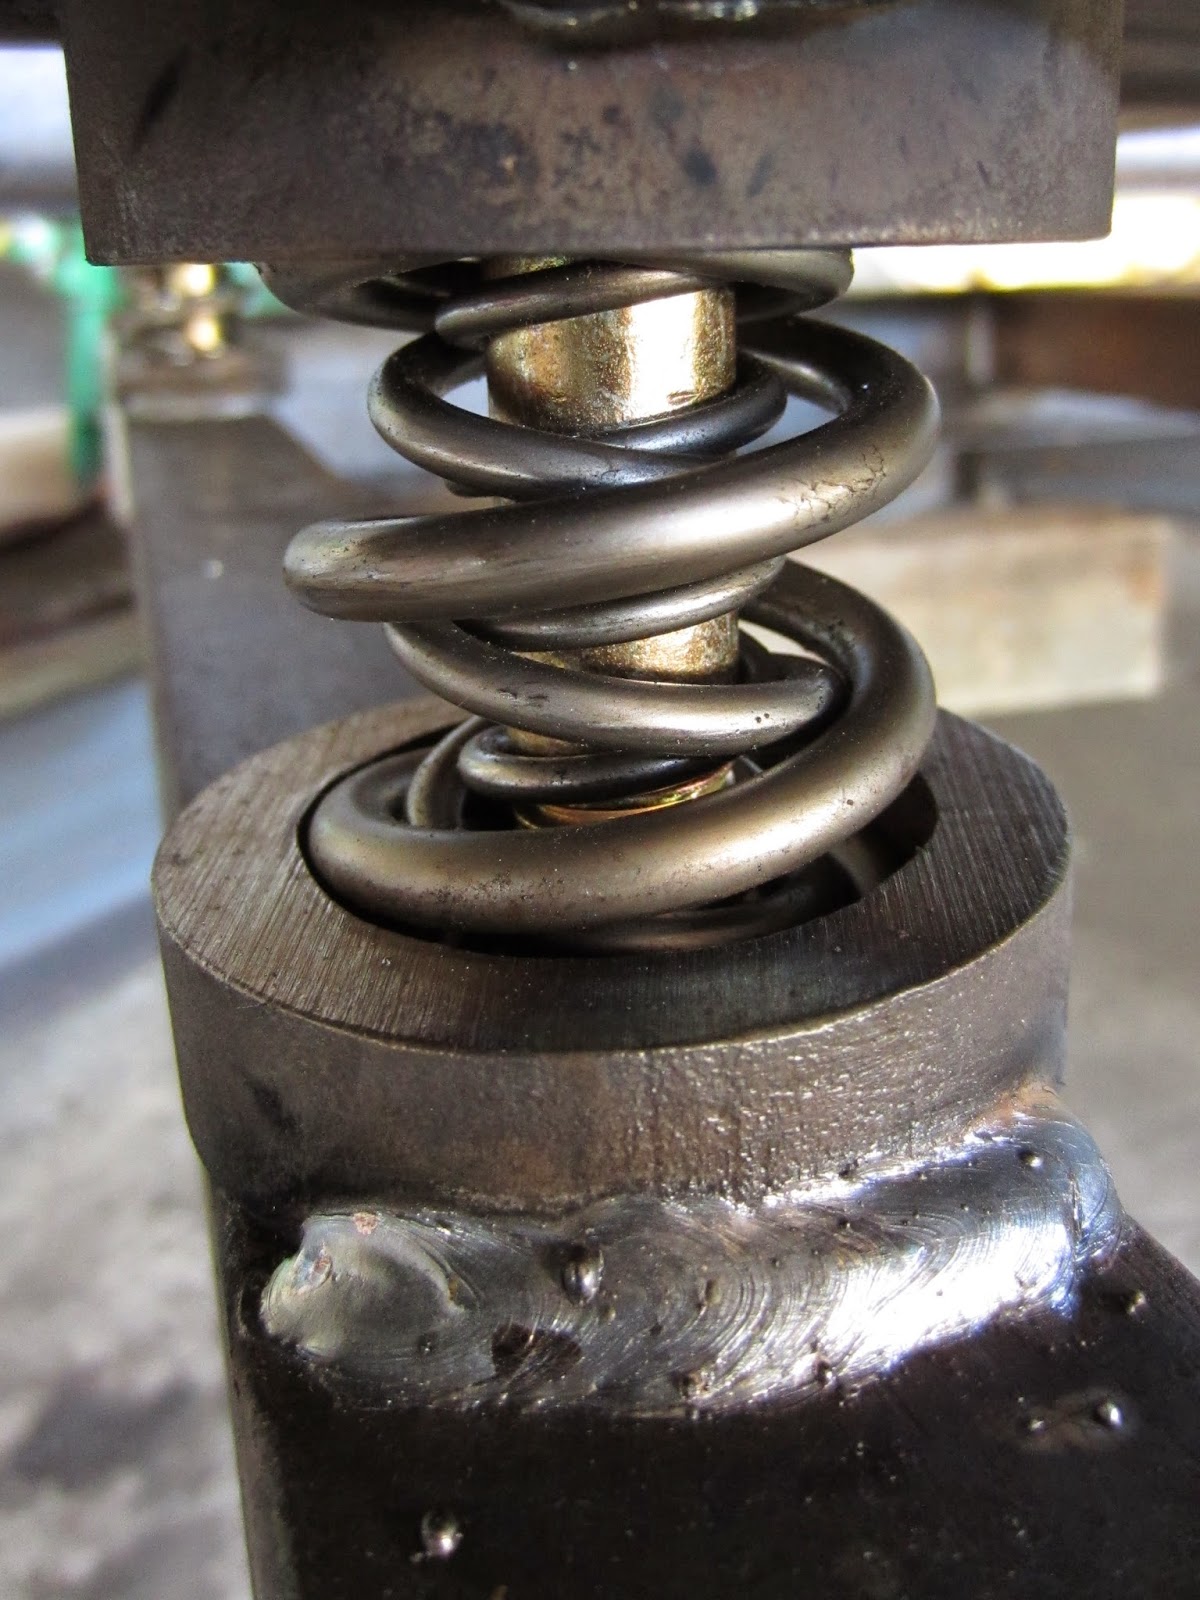
Springs under the oven platform for extra cushion. 

(2) custom made 5200# torsion axles. 

The trailer is finished. Now, for the bricks.

Insulation and refractory tiles.

A nifty mortar gun.

The hearth!

The hearth - nice and flat.

The side walls begin.


Cutting the wedge bricks.

Wedge bricks in place. Now it's starting to look like an oven!

In this oven design, there is what is called a "reduction arch" which is basically a lower arch than the larger ceiling arch. The role of the reduction arch is to create a bowl for smoke that burns (secondary combustion) when the oven reaches a higher temperature. When this happens, very little smoke should exit the chimney.

Walls are finished. Now, it's time for the arch.

This is a mock-up of the 49 inch arch span. It's a fairly flat arch. This is supposed to distribute the heat from the ceiling more evenly and keep steam closer to the skin of the baking dough.

I'm ever grateful that Nate is willing to spend most of his time building the foundation for our new business. And even more grateful that he's such an excellent builder/engineer/stonemason. It's not easy doing it all alone. It's a lot of pressure, and working long hours away from home can be lonely. Some nights he doesn't get home until after Zander's in bed, which is saying something because he's a tough one to get to sleep, that one. Anyway, I'm sure I don't say it nearly enough - Thank you, Nate!